

Picture-Designer - Image section
Image section
By selecting the image section, you can select the area of the image to be displayed. The truncated area is then ignored. Within the dialog, the red frame signals the newly selected selection area. A blue frame represents the selection frame when entering the dialog. The non-selected area is greyed out.
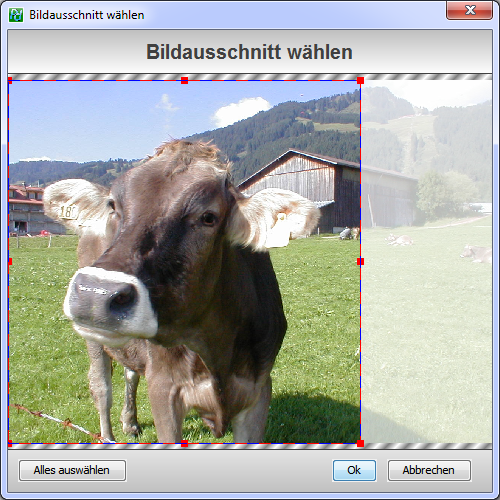
Frame features: By moving the small squares (holding down the left mouse button, moving the mouse and releasing the mouse button at the target), the frame size changes as follows.
At the vertices, the clipping scales proportionally, so as the selection gets higher, it also gets wider. At the sides either only the width or only the height changes.
Outside the selected area, a new frame can also be "dragged" with the mouse. This is done by pressing the left mouse button, moving the mouse and releasing the mouse button again.
Select all: The red area is placed on the entire image. You can now use the frame functions to narrow the section.
Ok: The red frame is used as a new image section and the dialog is closed. In the collage, only the selected area will be visible.
Cancel: Regardless of the selection made in the dialog, the dialog is closed and the change discarded. The blue frame remains active in the collage.